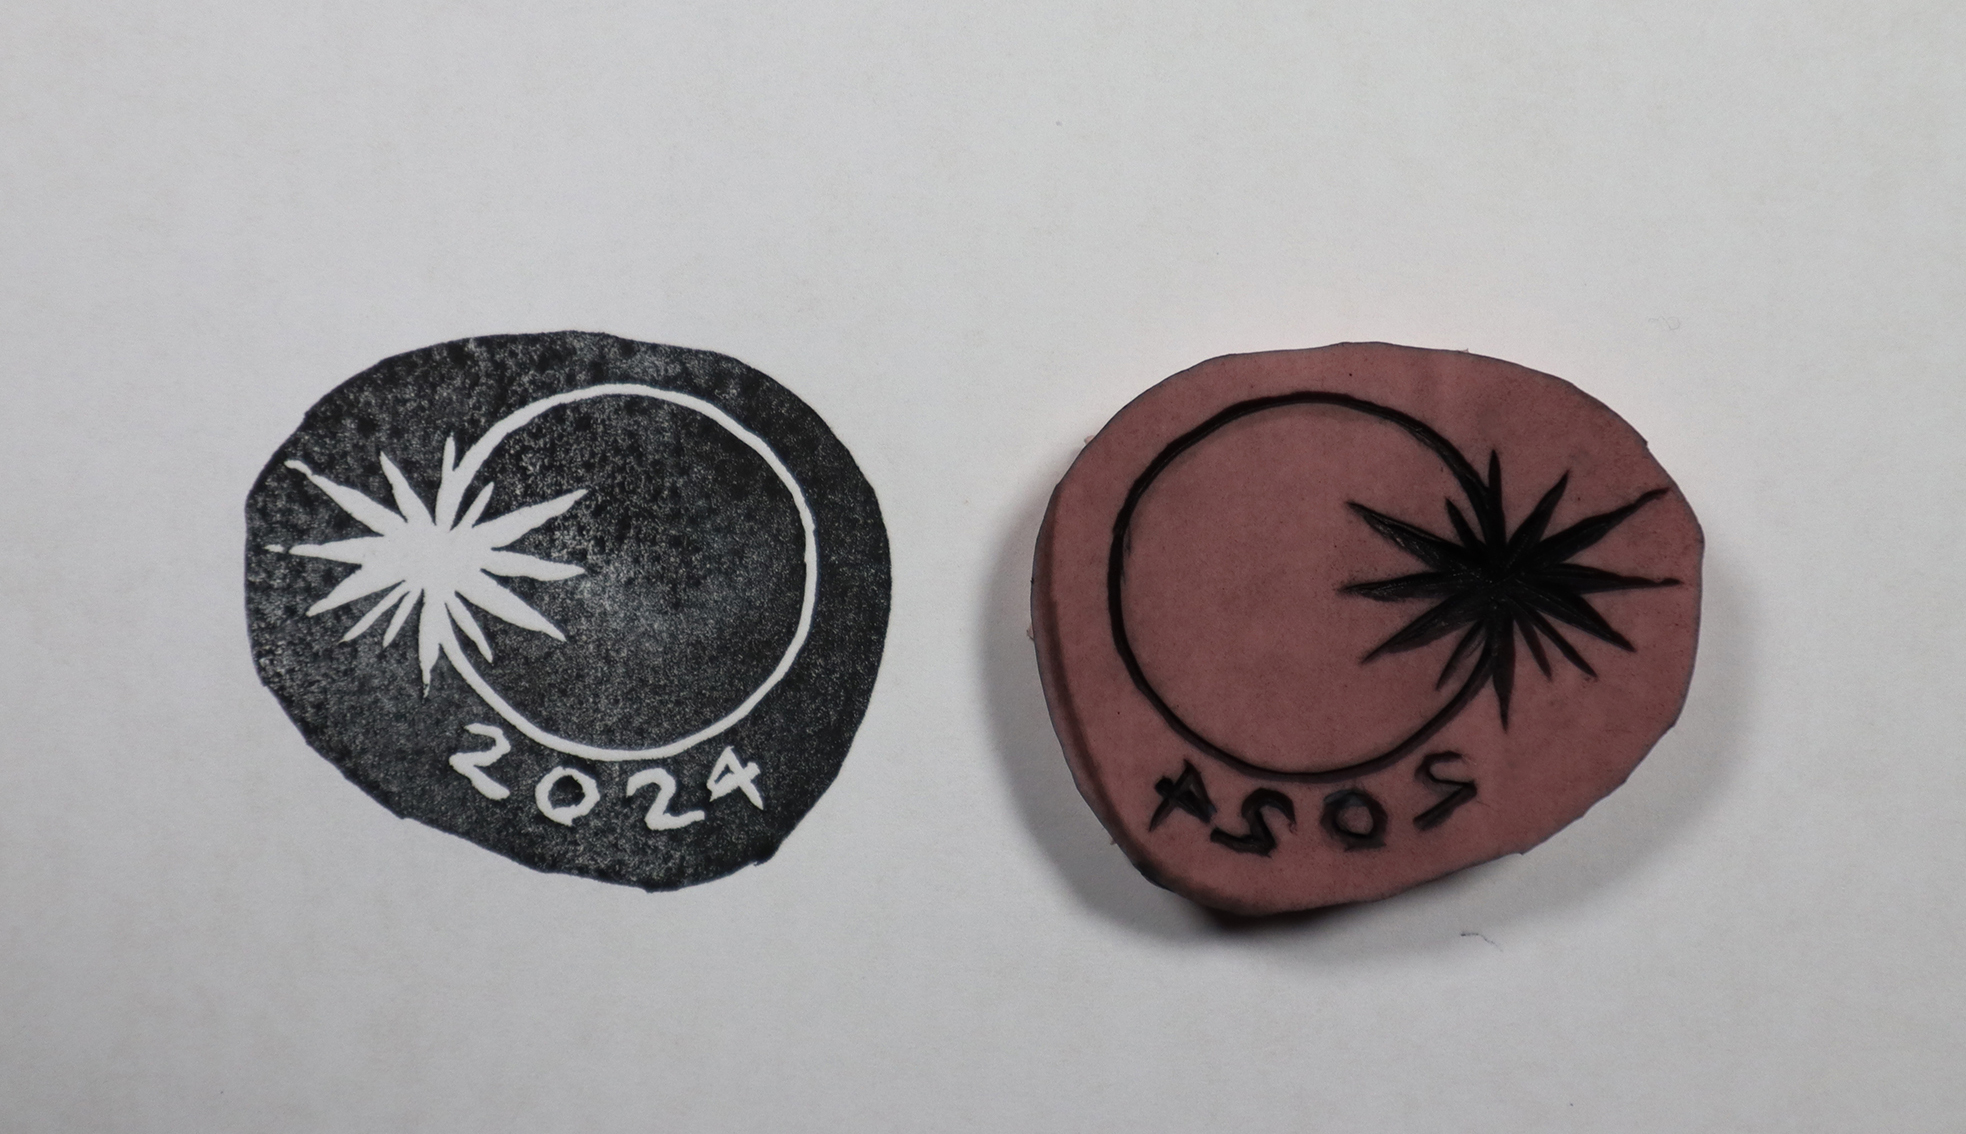
Today, I’m going to share with you a fun and creative tutorial on making your own personalized stamps. While this might not be groundbreaking, I’ve been asked about the stamps I’ve used in the past. So, I thought, why not put together a little guide?
Tools of the Trade
Please note I’ve listed my favorite tools and therefore they are affiliate links. These links help keep the blog running!
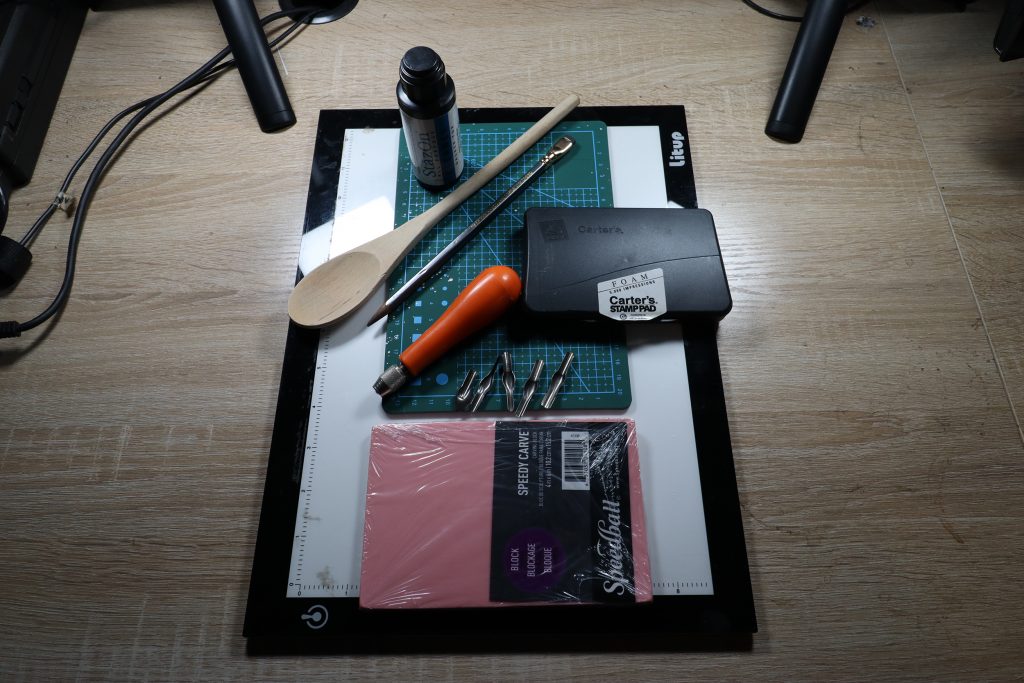
- Speedball Speedy-Carve Block
- Speedball Linoleum Cutter Kit
- Pencil (soft lead (B) works best) (Ticonderoga 1B Extra Soft or BlackWing)
- Blank plain white paper
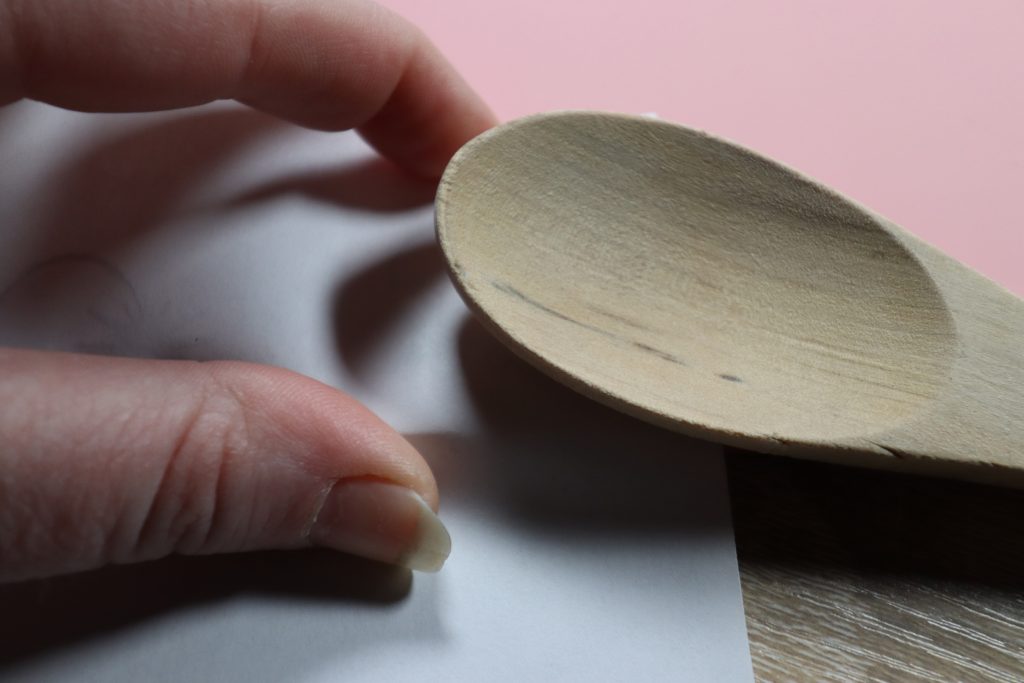
- Device for rubbing (I use a wooden spoon like this one)
- Ink pads (Tsukineko Memento or Avery Carter)
- Optional: Self Healing Cutting Mat (anezus Self Healing Sewing Mat)
- Optional: X-acto Knife (though the Linoleum Cutter set usually suffices)
- Optional: Stamp Cleaner to clean off your stamp after use (Tsukineko StazOn All-Purpose Stamp Cleaner)
- Optional: Light Table (LitEnergy A4 LED)
Now that we’ve got our tools lined up, let’s dive in!
Crafting Your Design
There are two primary methods: drawing directly onto the block or transferring a design from paper. If you opt for the latter, remember that your design will stamp in reverse.
Step-by-Step: Designing and Transferring
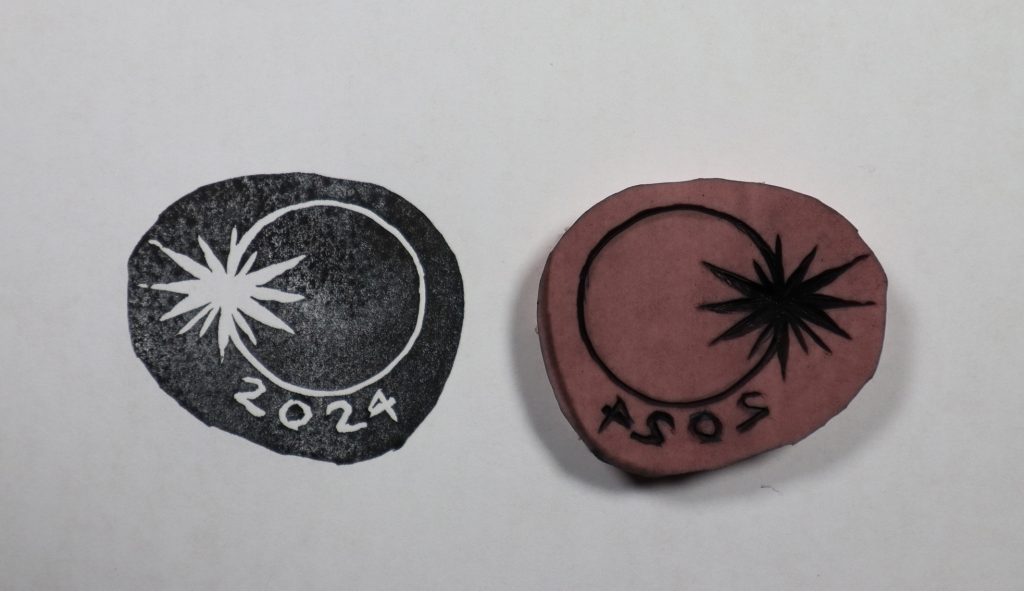
With the solar eclipse coming up, I decided to go with a commemorative stamp to remind me of the event.
Sketch your design onto paper or transfer from a digital image that you made (like I did).
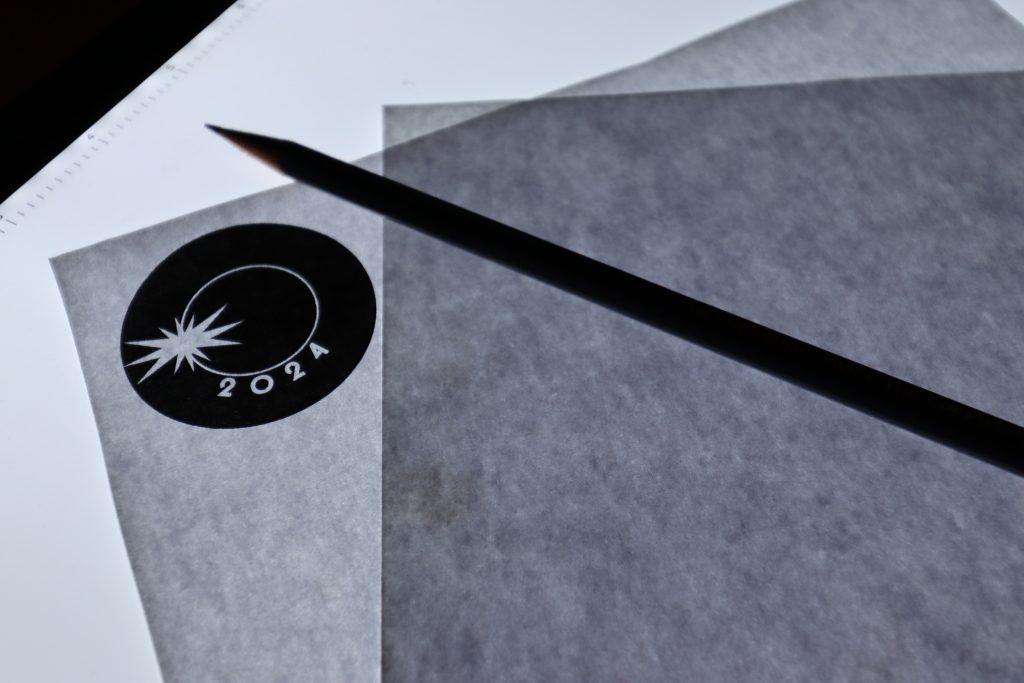
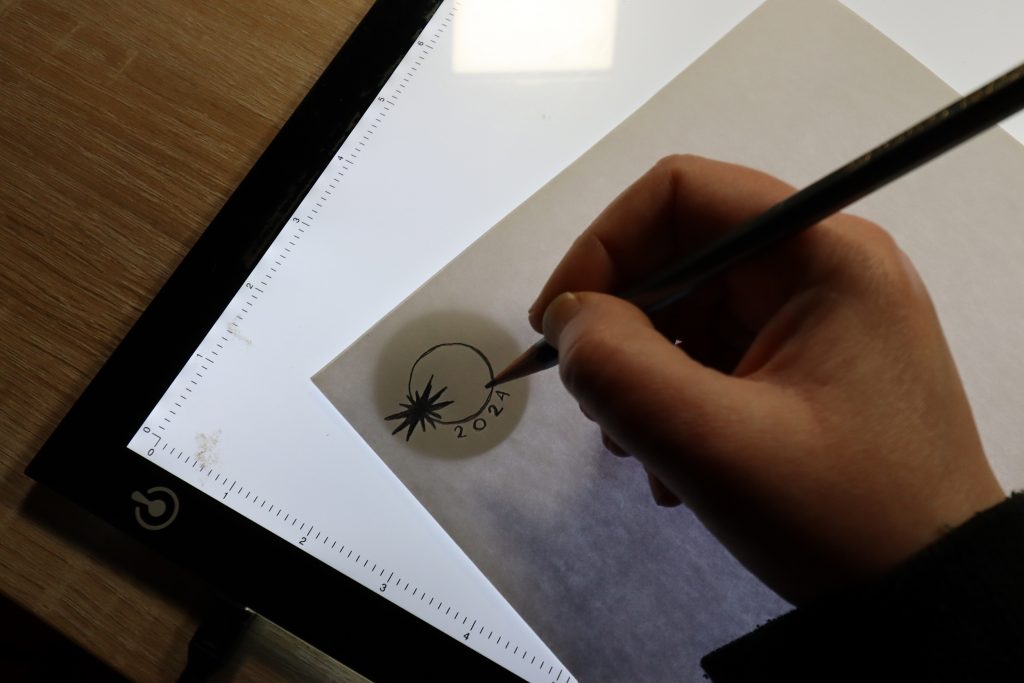
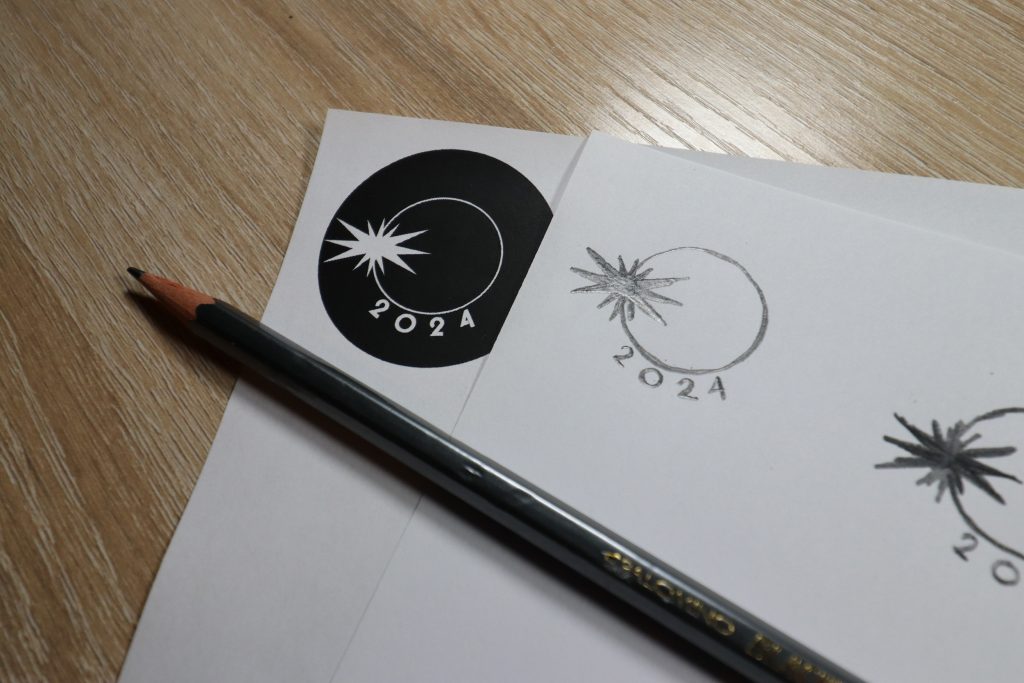
Place your design on the carving block and use a tool to rub the graphite onto it. Thicken up the lines if needed, keeping in mind that you’ll be carving the negative space.
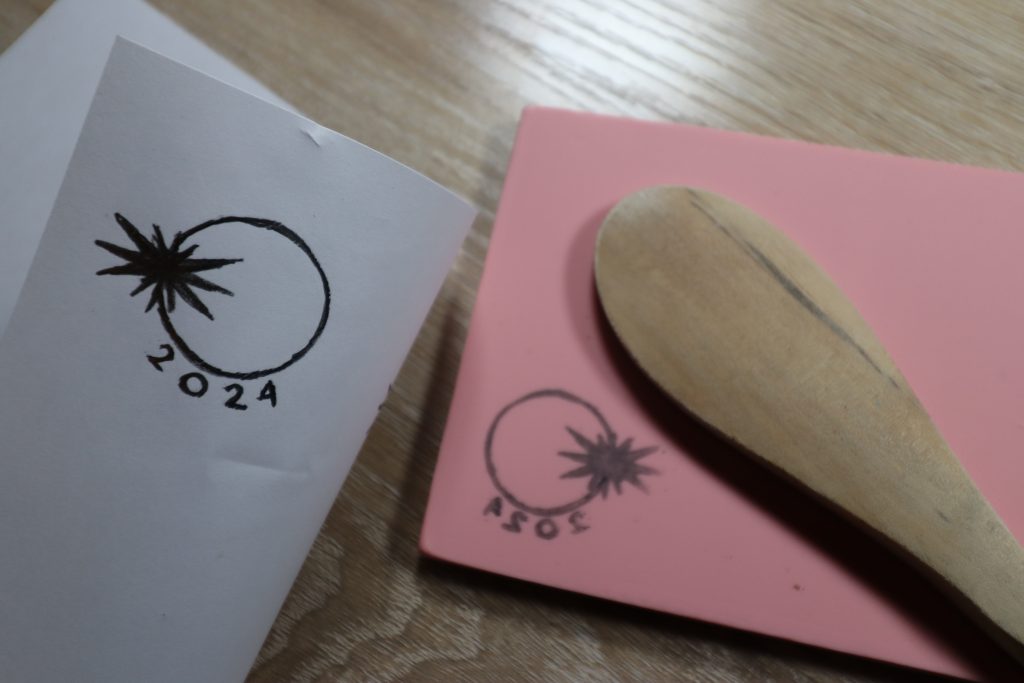
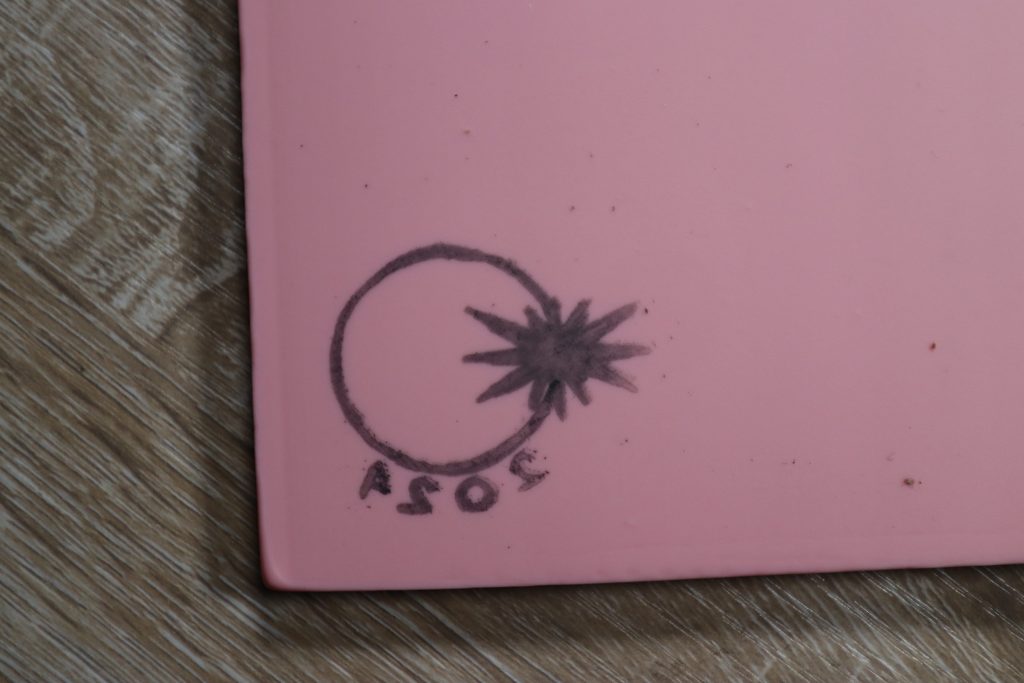
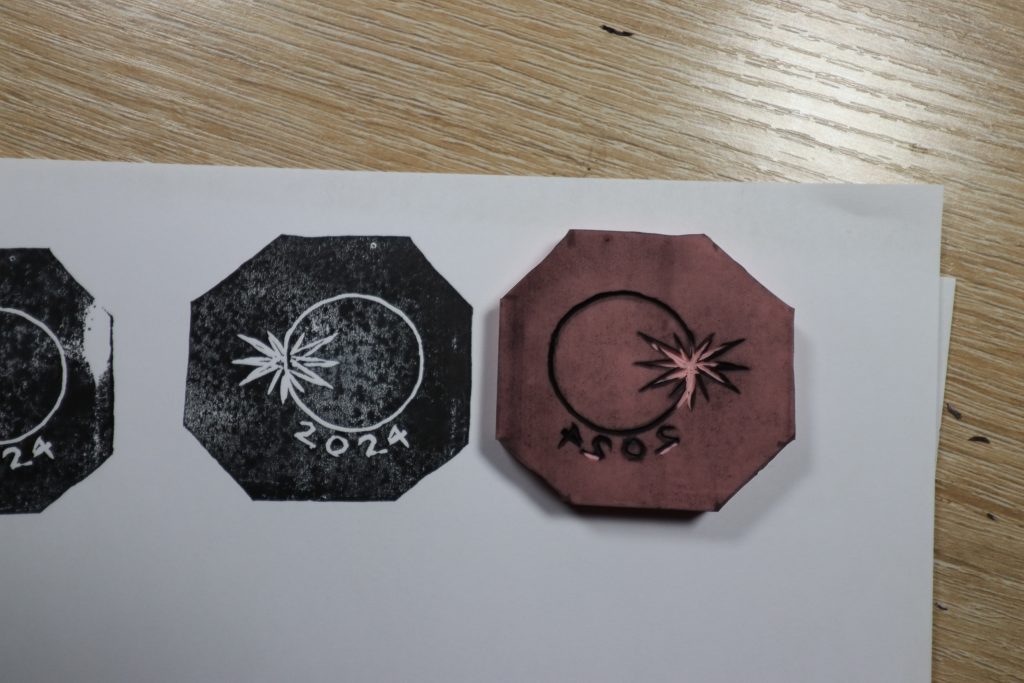
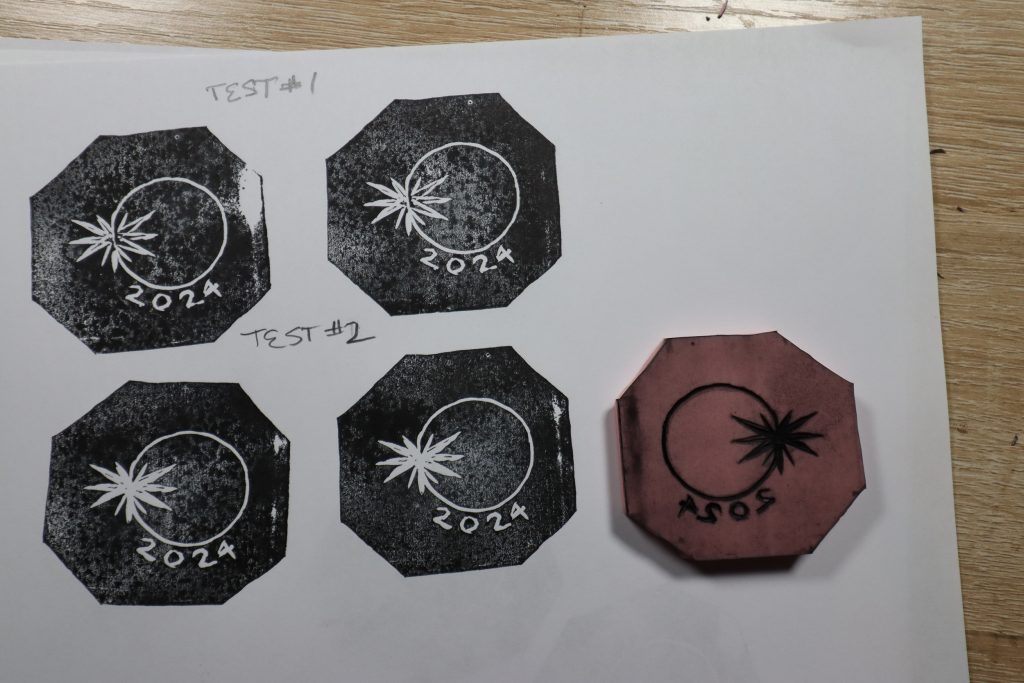
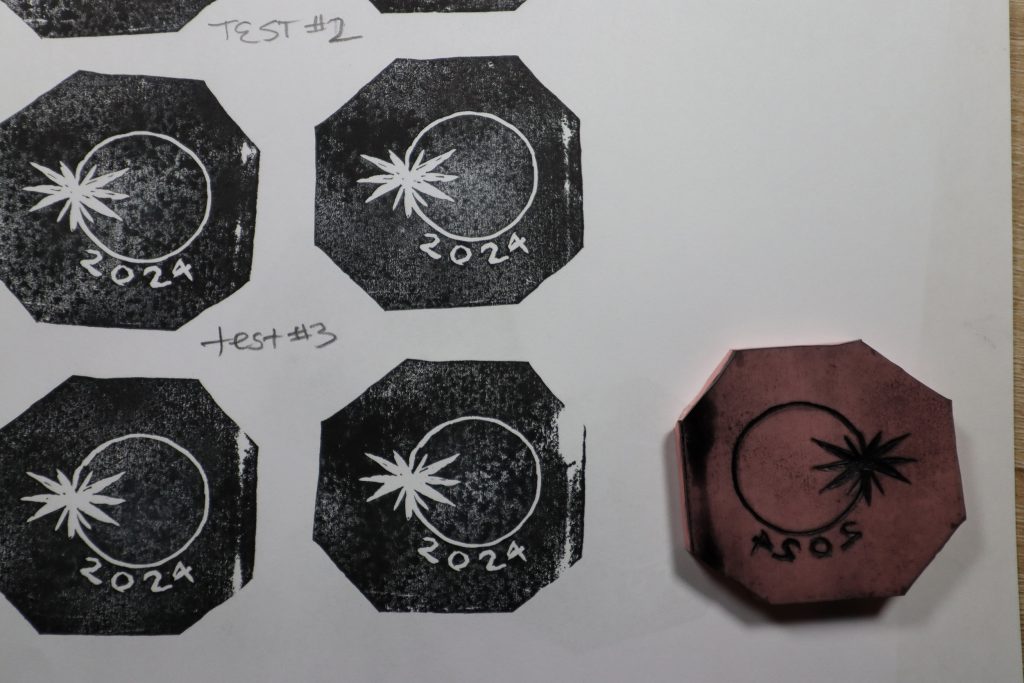
Time to carve! Dive in with your preferred carving tool. For this design, I’m have to use the thinnest carving tool. It’s important to stay shallow with your cuts!! You can always make the cuts deeper after testing if needed. For curved objects, rotate the carving block instead of your hand/tool. For the points I started at the tip of the point and worked down first. Another tip is to do the outlines first, then test, then carve out the filled in areas.
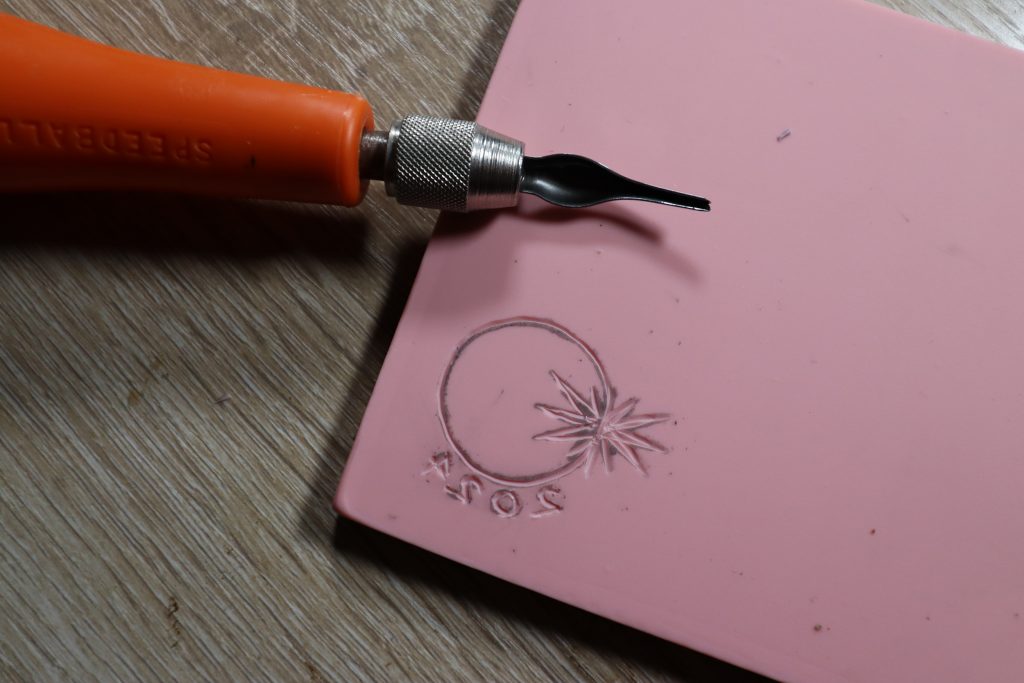
After carving, trim the excess linoleum around the edges – this might or might not be your final outer shape!
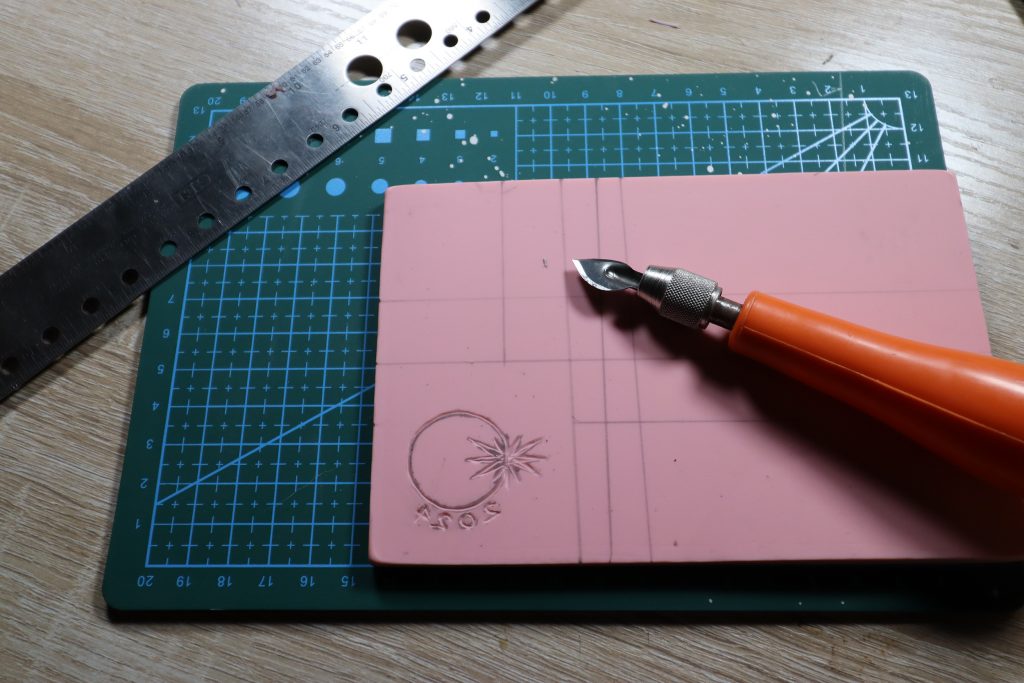
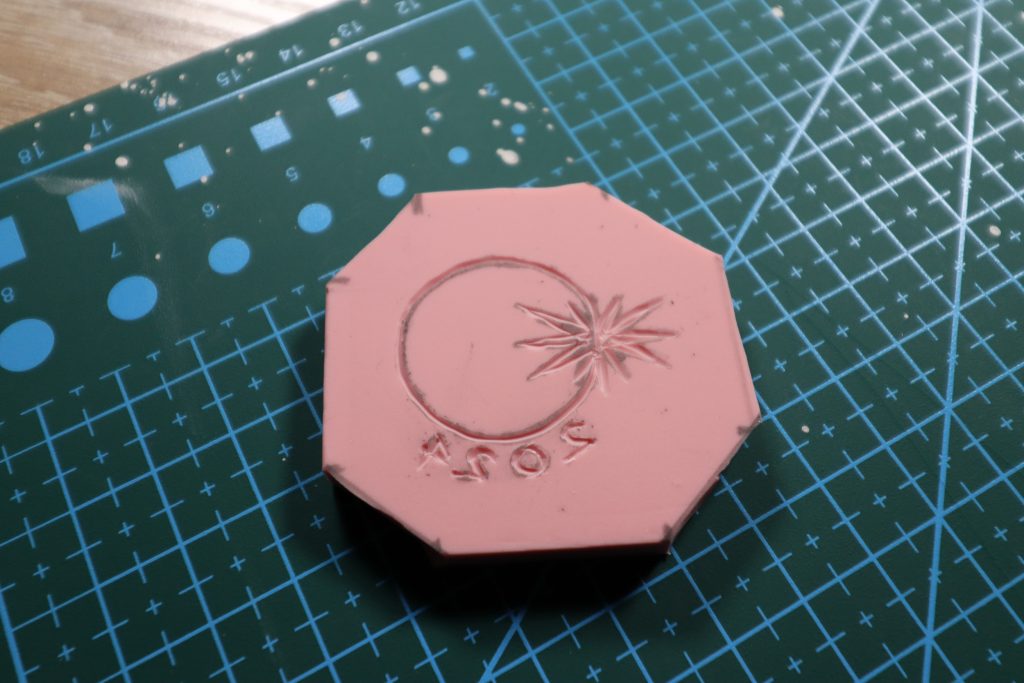
Testing Your Stamp
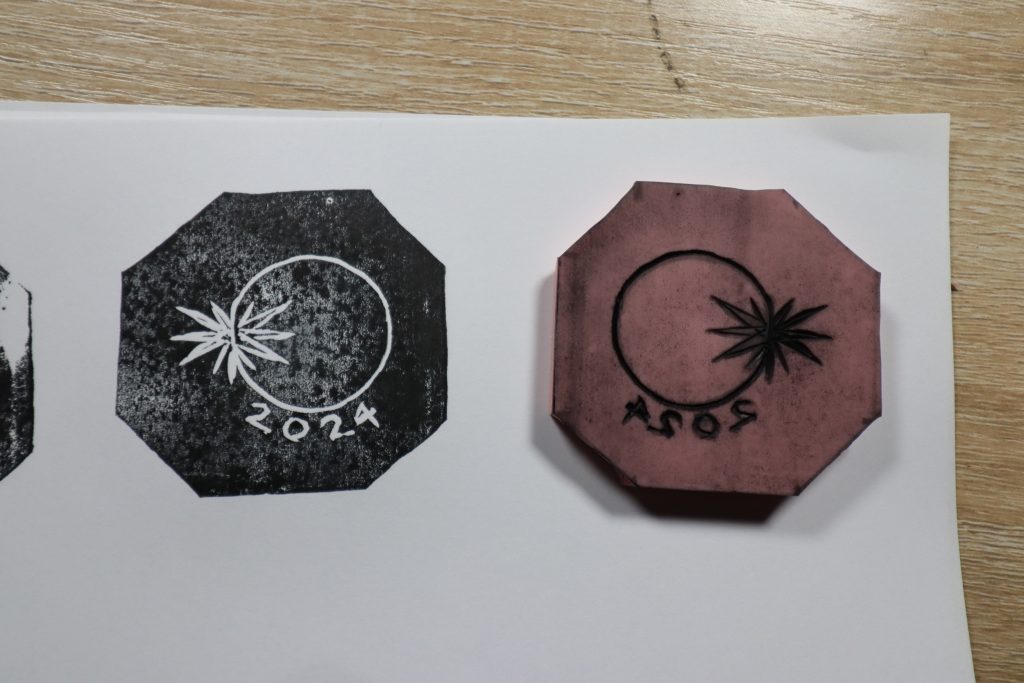
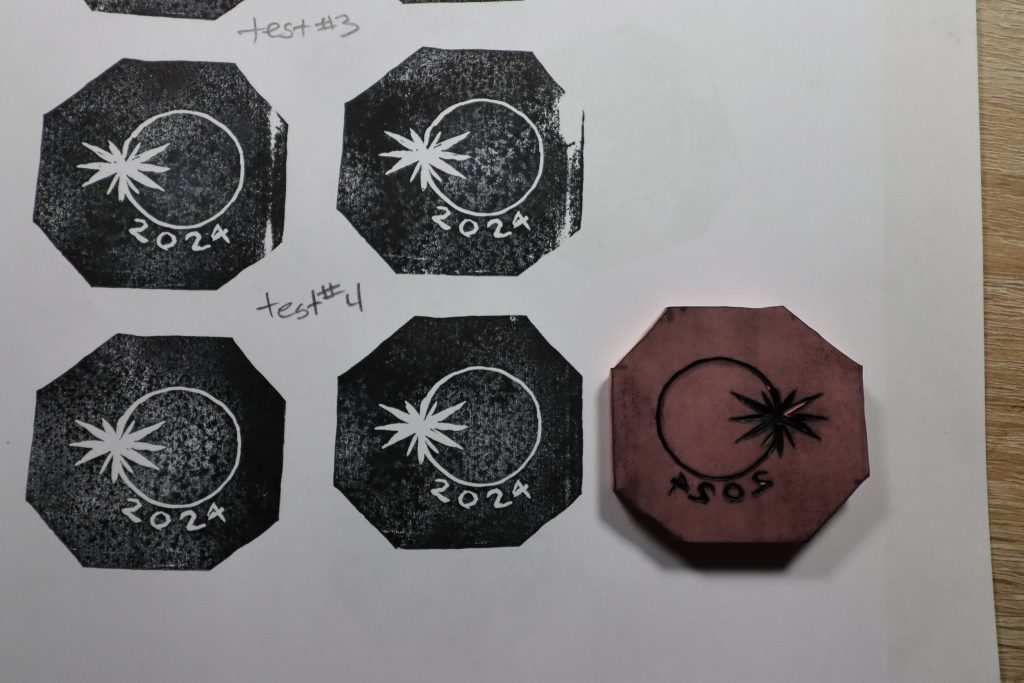
Test your stamp on scrap paper to check for any missed spots or imperfections. Don’t worry if you need to make adjustments – it’s all part of the process.
Finishing Touches
Don’t be afraid of starting over either! It takes practice to get it the way you want it and sometimes even I over carve 😅
Once you’re happy with your stamp, it’s time to put it to good use! Stamp it onto projects, envelopes, or anywhere else your heart desires. Get creative and have fun with it!
In Conclusion
And there you have it – your very own custom stamp! Experiment with different designs and patterns to expand your collection. Remember, the most important thing is to enjoy the process.
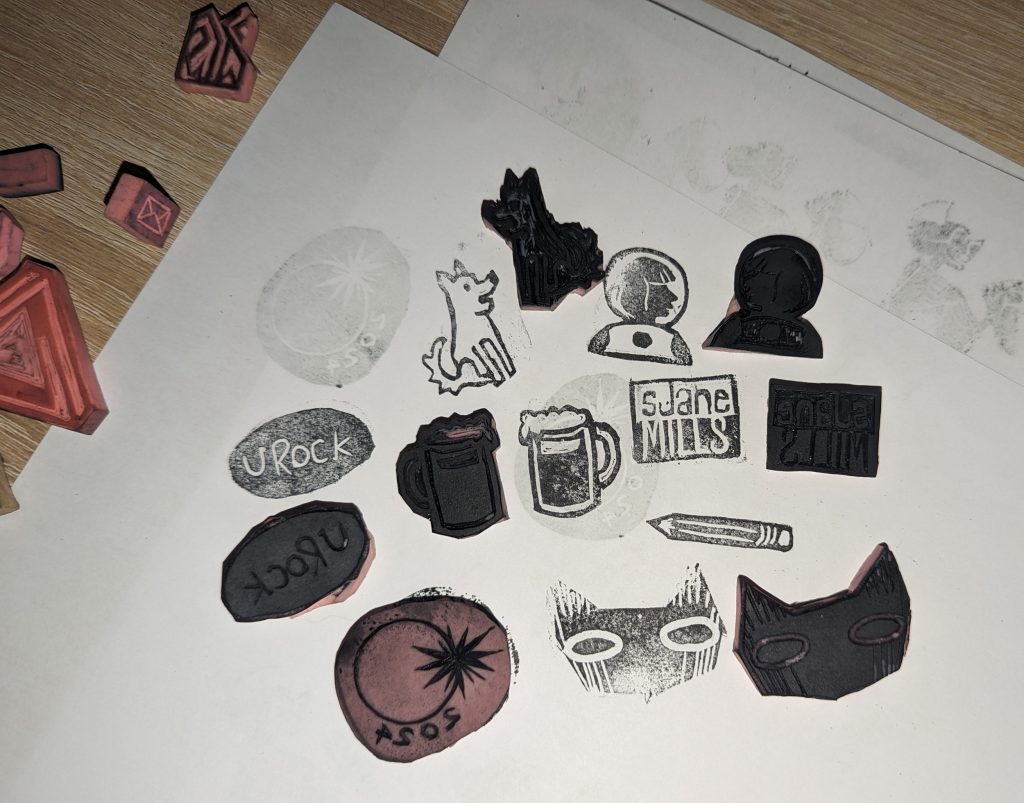
What stamp design did you make? Tag me on Instagram @ivory_ocean
If you have any questions, drop them in the comments, and I’ll do my best to help you out!
Happy stamping!! ✨

